
Learn how to use clipper lighters properly with our comprehensive guide. From refilling to adjusting the flame, discover everything you need to know!
Introduction
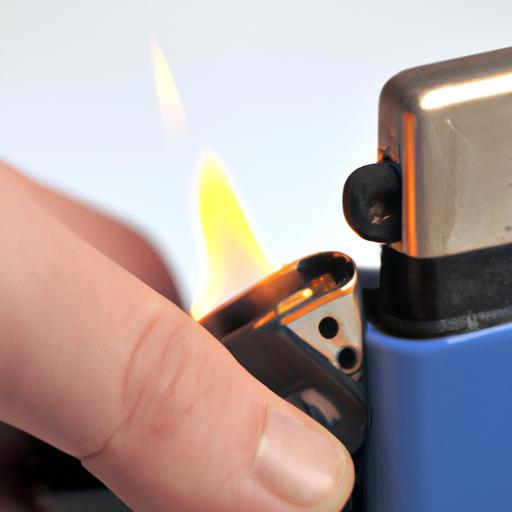
Do you own a Clipper Lighter, but you’re not sure how to use it properly? Don’t worry; you’re not alone. Clipper Lighters are known for their unique design and functionality, making them a popular choice among smokers worldwide. However, to enjoy the full benefits of using a Clipper Lighter, it is essential to know how to use it correctly. Clipperreview
Brief History of Clipper Lighter
Clipper Lighters were first introduced in the 1970s in Spain and quickly became a popular choice among smokers worldwide. The brand’s distinctive design, coupled with its refillable and adjustable flame features, made it stand out from its competitors.
Importance of Knowing How to Use Clipper Lighter
Knowing how to use a Clipper Lighter correctly is crucial for several reasons. Firstly, it ensures that you get the most out of your lighter, saving you money in the long run. Secondly, it prevents accidents that could result from improper use of the lighter. Lastly, using a Clipper Lighter correctly enhances the smoking experience, making it more enjoyable. In this article, we will guide you through everything you need to know about using a Clipper Lighter, from understanding its parts to cleaning it properly.
Understanding Clipper Lighter
If you’re new to using Clipper Lighters, it’s essential to understand their parts and features, different types, and the advantages of using them.
Parts and Features of Clipper Lighter
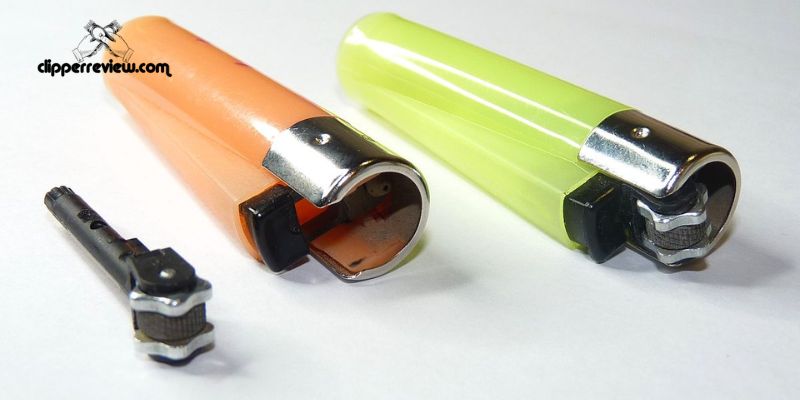
Clipper Lighters feature a unique design that sets them apart from other lighters. They consist of the following parts:
Flint Wheel
The flint wheel is the part of the lighter that creates a spark by striking against the flint, igniting the fuel.
Gas Adjustment Dial
The gas adjustment dial allows you to adjust the flame height to your preference, making it versatile for various smoking preferences.
Refillable Fuel Tank
Clipper Lighters are refillable, allowing you to reuse them multiple times. Their fuel tank is located at the bottom of the lighter.
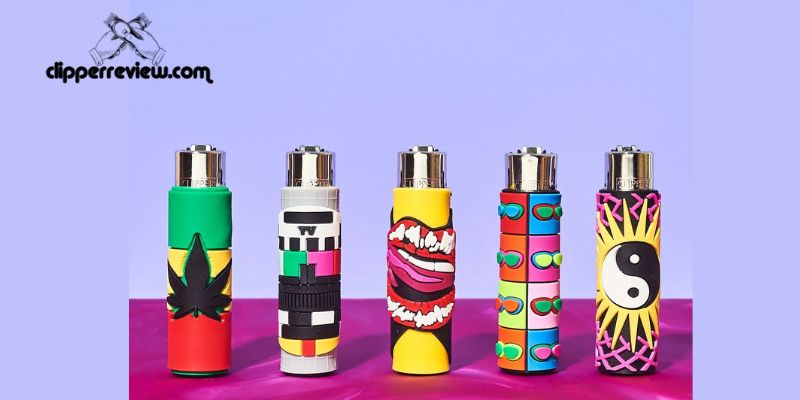
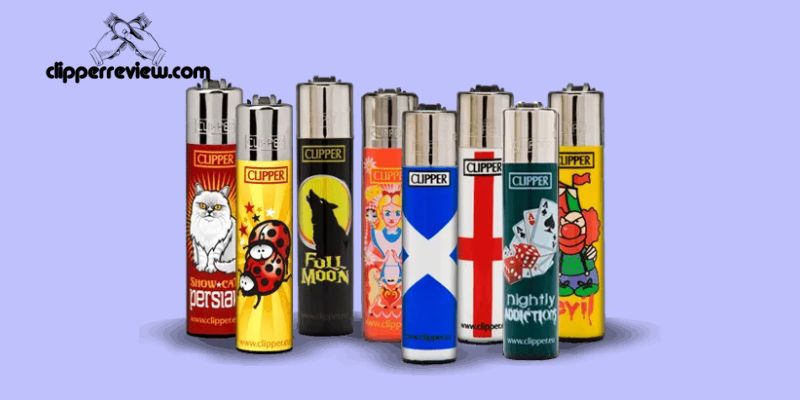
Different Types of Clipper Lighter
Clipper Lighters come in various designs and styles, making them a popular choice among smokers worldwide.
Classic Clipper Lighter
The classic Clipper Lighter features the iconic round shape, refillable fuel tank, adjustable flame, and a replaceable flint.
Metal Clipper Lighter
The metal Clipper Lighter features a sleek design, making it a popular choice among smokers who prefer a more modern look.
Advantages of Using Clipper Lighter
Clipper Lighters have several advantages, including:
Refillable and Reusable
Clipper Lighters are refillable, allowing you to reuse them multiple times, making them an eco-friendly choice.
Adjustable Flame Height
The gas adjustment dial allows you to adjust the flame height to your preference, making it versatile for various smoking preferences.
Built to Last
Clipper Lighters are made with durable materials, making them long-lasting and an excellent investment for smokers.
How to Refill a Clipper Lighter
Materials Needed for Refilling
Before we dive into the steps on how to refill a Clipper Lighter, it is essential to gather the necessary materials. These materials include:
- Butane Gas
- Small Screwdriver or Pin
Step-by-Step Guide on How to Refill a Clipper Lighter
- Turn off the gas flow valve of the Clipper Lighter.
- Remove the flint screw located at the bottom of the lighter using a small screwdriver or pin.
- Hold the lighter upside down and insert the nozzle of the butane gas canister into the refill valve at the bottom of the lighter.
- Press the canister nozzle down firmly and hold it for approximately 5 seconds.
- Release the pressure on the canister nozzle and remove it from the refill valve.
- Replace the flint screw and turn on the gas flow valve.
Tips on How to Properly Refill a Clipper Lighter
- Do not overfill the lighter to prevent gas leakage.
- Wait for a few seconds before lighting the lighter after refilling to allow the gas to settle.
- Only use high-quality butane gas to ensure the longevity of your Clipper Lighter.
How to Adjust the Flame of a Clipper Lighter
Importance of Adjusting the Flame of a Clipper Lighter
Adjusting the flame of your Clipper Lighter is essential for several reasons. Firstly, it ensures that you have the right amount of heat to light your smoking material properly. Secondly, it eliminates the risk of accidents that could arise from a too high or low flame. Lastly, adjusting the flame provides a personalized smoking experience, allowing you to customize the heat level to your preference.
Step-by-Step Guide on How to Adjust the Flame of a Clipper Lighter
Adjusting the flame on your Clipper Lighter is a simple process that can be done in a few easy steps. Follow these steps to adjust the flame of your Clipper Lighter:
- Using a small screwdriver, remove the metal casing from the bottom of your Clipper Lighter.
- Locate the flame adjuster wheel at the bottom of the lighter.
- Using the screwdriver, turn the adjuster wheel clockwise to increase the flame’s height or counterclockwise to decrease it.
- Once you have adjusted the flame to your desired height, replace the metal casing.
Tips on How to Properly Adjust the Flame of a Clipper Lighter
When adjusting the flame of your Clipper Lighter, there are a few things to keep in mind to ensure that you do it properly. Firstly, avoid using too much force when turning the adjuster wheel to prevent damage to the lighter. Secondly, avoid adjusting the flame too high, as this could cause the lighter to overheat and become a fire hazard. Lastly, test the flame after adjusting to ensure that it is at the desired height.
How to Clean a Clipper Lighter
A dirty Clipper Lighter not only looks unsightly but can also affect its functionality. Therefore, it is essential to clean your Clipper Lighter regularly to ensure that it works correctly. In this section, we will guide you through the process of cleaning your Clipper Lighter.
Reasons Why it is Important to Clean a Clipper Lighter
Cleaning your Clipper Lighter regularly is essential for several reasons. Firstly, it ensures that the lighter’s mechanism works correctly, saving you the frustration of a malfunctioning lighter. Secondly, it prevents the accumulation of dirt and debris, which can affect the flame’s quality. Lastly, it enhances the longevity of the lighter, saving you money in the long run.
Materials Needed for Cleaning
To clean your Clipper Lighter, you will need the following materials:
- Cotton swabs
- Rubbing alcohol
- Dish soap
- Warm water
- A small container
Step-by-Step Guide on How to Clean a Clipper Lighter
Follow these steps to clean your Clipper Lighter:
- Disassemble your Clipper Lighter by removing the flint, gas canister, and metal casing.
- Soak the metal casing in warm water and dish soap for about 10 minutes.
- Use a cotton swab and some rubbing alcohol to clean the gas nozzle and the flame adjuster.
- Rinse the metal casing with warm water and let it air dry.
- Once the metal casing is dry, reassemble the lighter by inserting the gas canister, flint, and metal casing.
Tips on How to Properly Clean a Clipper Lighter
To ensure that you clean your Clipper Lighter correctly, follow these tips:
- Use a small container to soak the metal casing to prevent it from getting lost in a larger container.
- Use a cotton swab to clean the gas nozzle and flame adjuster thoroughly.
- Let the metal casing air dry completely before reassembling the lighter.
- Clean your Clipper Lighter regularly to ensure its longevity and functionality.
Conclusion
In conclusion, Clipper Lighters are an excellent choice for smokers worldwide. Their unique design, refillable, and adjustable flame features make them stand out from the competition. However, to enjoy the full benefits of using a Clipper Lighter, it is crucial to know how to use it correctly.
We hope this comprehensive guide has provided you with everything you need to know to use your Clipper Lighter correctly. From understanding its parts to refilling, adjusting its flame, and cleaning it properly, you can now use your Clipper Lighter with confidence.
Remember, using a Clipper Lighter correctly enhances the smoking experience, making it more enjoyable. As a reminder, you can find all the information you need about Clipper Lighters on our website, clipperreview.com. Thank you for reading, and happy smoking!